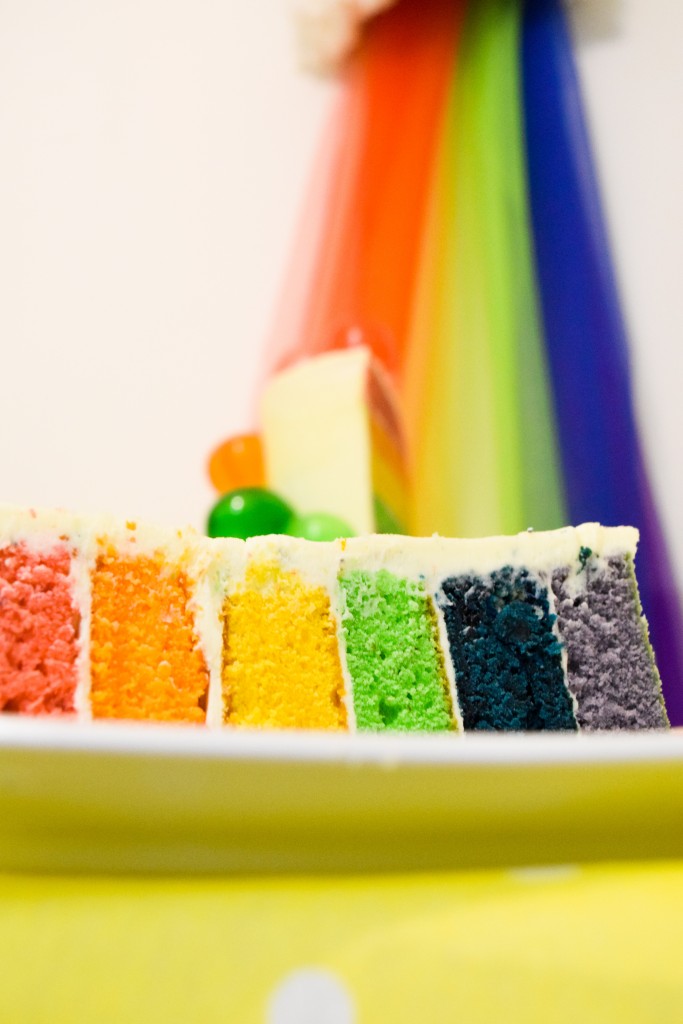
A rainbow cake that tastes like a rainbow.

Huh?
What?
I know!
You’ve probably seen hundreds of rainbow cake tutorials.
Fed up of seeing rainbow cakes and probably made 1, 2 or quite a few.
But….
This isn’t your average rainbow cake, this is a rainbow cake that actually TASTES like a rainbow.


Why I Made My Rainbow Cake Taste Like A Rainbow
It really bothers me when cakes don’t taste as good as they look. I
s it just me or do you also wonder why people colour their cakes and frostings in beautiful colours and neglect the flavour altogether?
For example have you had a fluffly cupcake topped with a pink creamy velvety swirl of buttercream?
Your eyes are telling your brain it’s pink and youy brain is telling your tongue it’s strawberry.
You bite in….. it’s vanilla.
VANILLA!
What a let down.
Now I love vanilla but the whole colour thing gets me excited and so does flavour and one without the other just isn’t right. It just doesn’t work.
My Inspiration
Do you remember the Tom and Jerry cup cake box mixes you’d make as a kid? The ones where you’d get Tom and Jerry’s faces on rice paper that you’d put on top for decoration and then stick some on the end of your tongue and watch it melt?
Well they were pink, pink cupcakes, topped with pink icing and tasted of strawberry. The company knew that if they were pink they’d get kids attention and if they tasted of strawberry or any other flavour a kid would associate the colour to a flavour. This is why their product was a hit, because it captured the eyes attention and satisfied the taste buds. All this just because they gave flavour a little bit of attention.
This is what I’ve tried to do.
Capture your attention visually with the rainbow colours so you’d carry on reading and hopefully when you’ve finished I’d have tickled your taste buds with the variety of flavours and then you go and rush to your kitchens and give this recipe ago. And hopefully come back for more recipes, like I and many go back for more Tom and Jerry cupcakes.
What flavours have you used? I hear you ask in anticipation
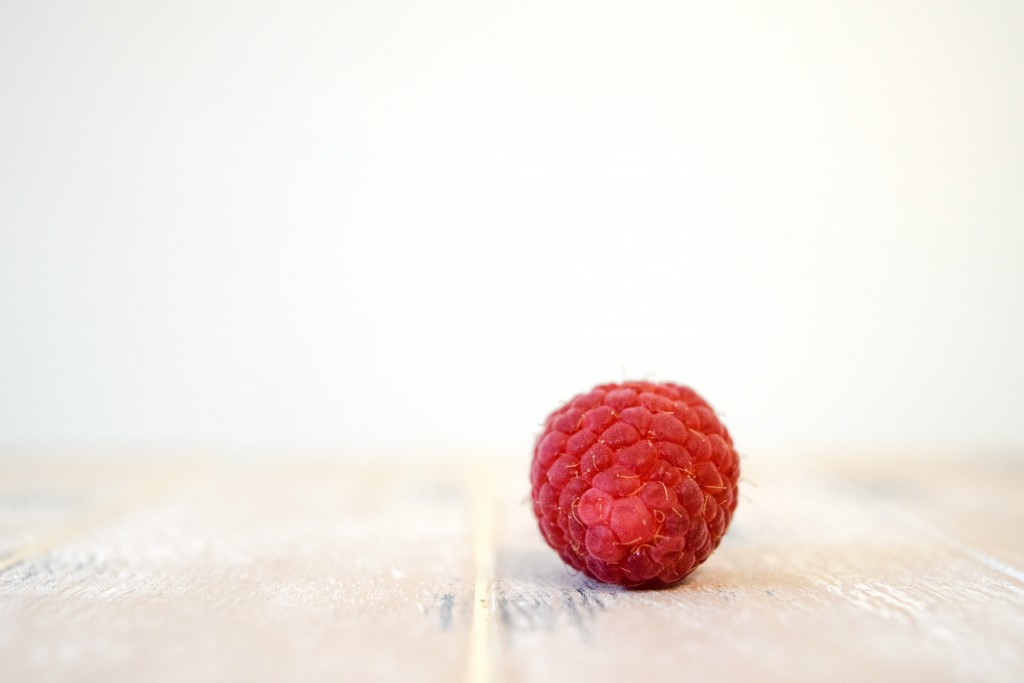
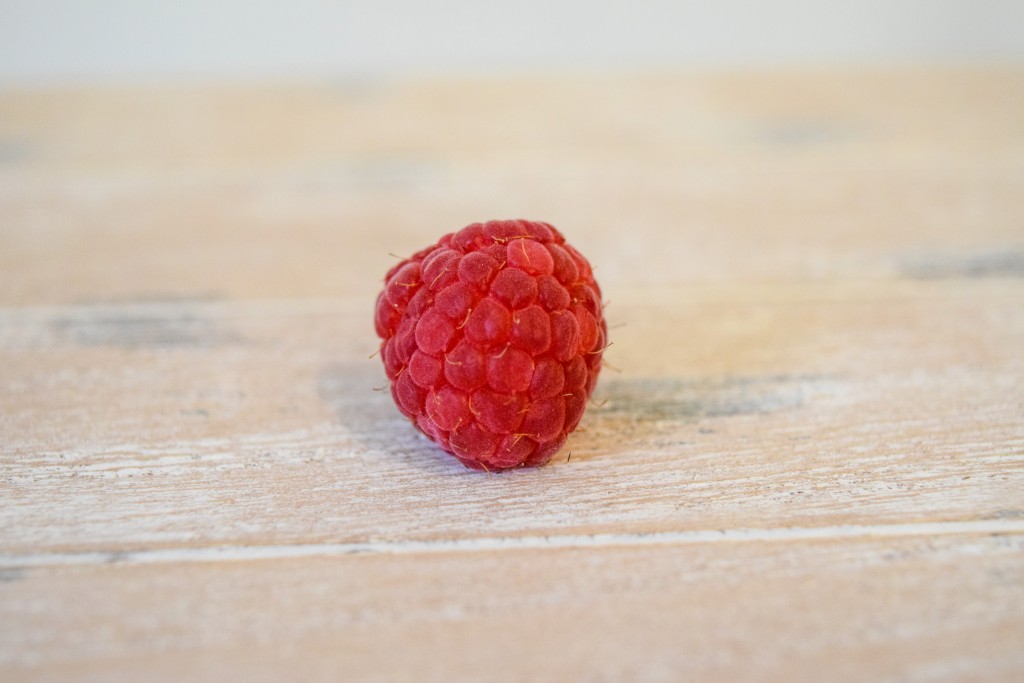
Sweet and sour raspberries.
Warming orange.
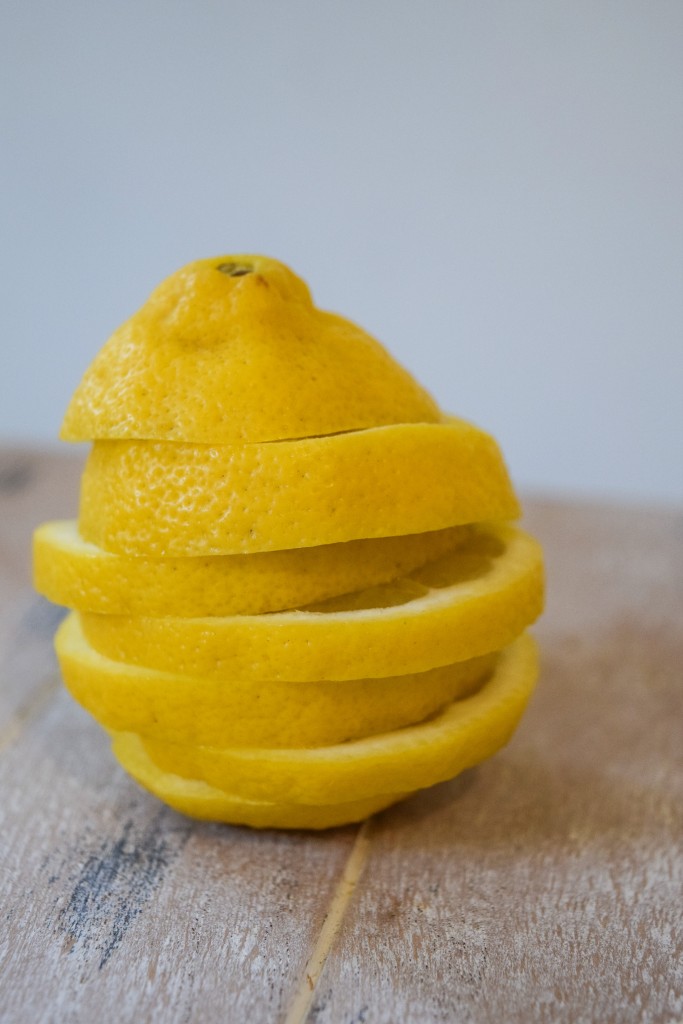
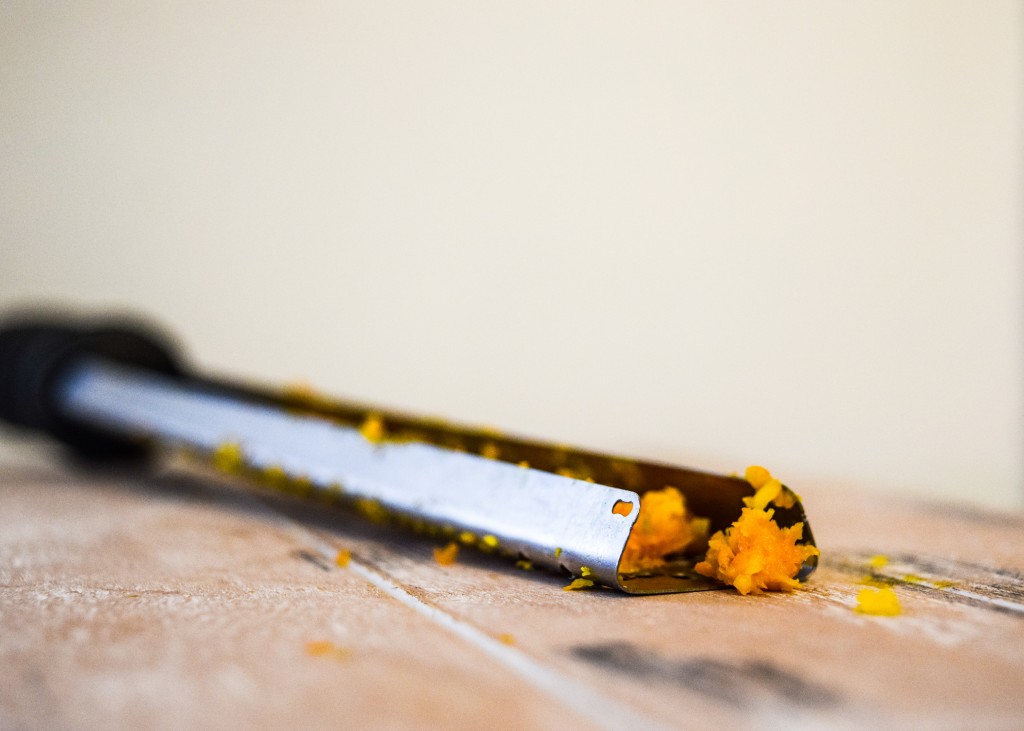
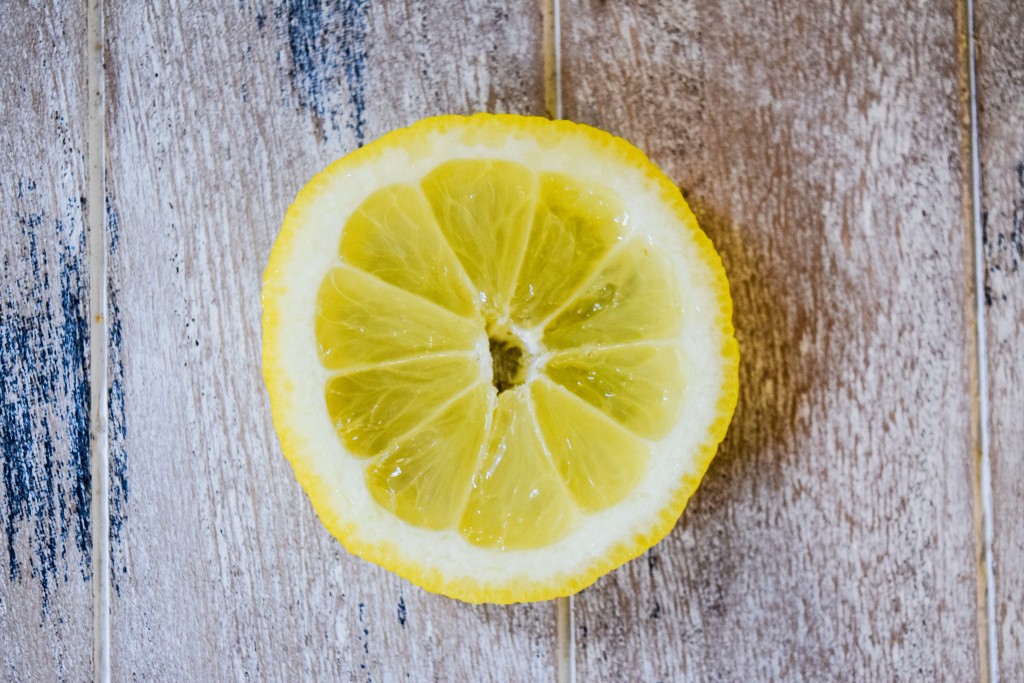
Refreshing lemon.
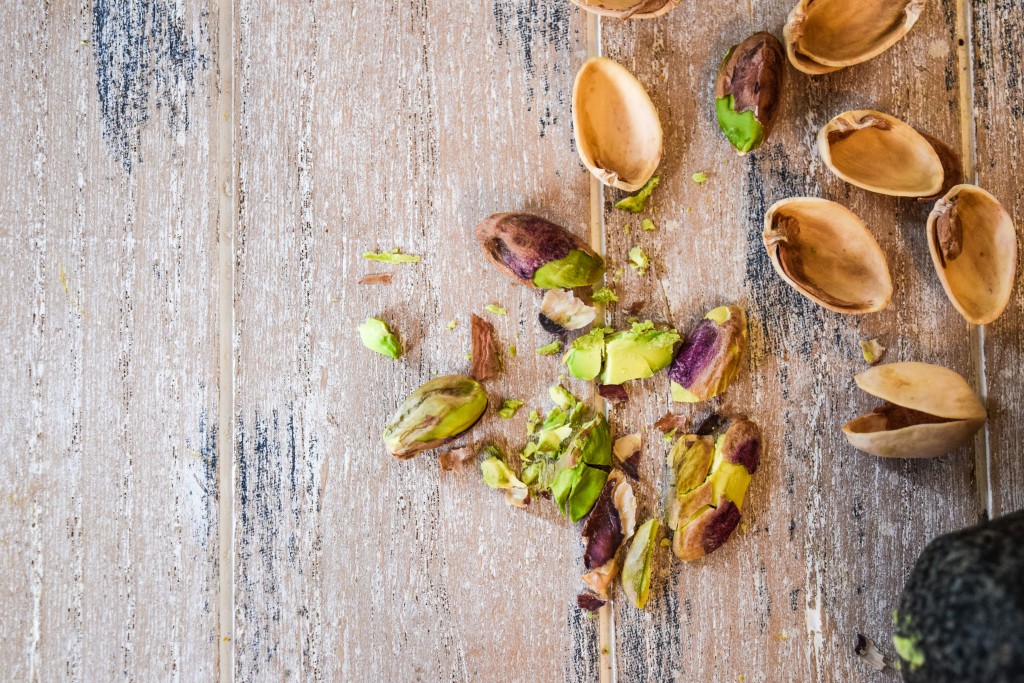
Nutty pistachio.
Fruity blueberry.
Perfumey lavender.


What Does My Rainbow Cake That Tastes Like A Rainbow Taste Like?
Here’s a taste journey you can look forward to if you give this cake a go:
If you eat the cake from top to bottom you’ll be greeted by the light distinct taste of sweet and sour raspberries.
Then warmed and lifted with brightening orange flavours.
Now get ready for the yellow layer because it hits you from every lemoney angle with its sour and refreshing citrus notes that scream
HI I’M LEMON!
Lemon juice is used for tartness. You know the taste that makes your eyes squint small and you get a tingle in you cheek or jaw. Lemon zest is used to impart a perfumey lemon taste.
Pistachios then pops up with their recognizable nuttyness and if you eat it with the raspberry layer you’ll create a fabulous explosion of yummyness in your mouth.
Now we’re at the blue layer. Fruity, light, sweet and bursting with blueberryness. If you find it a bit too overpowering eat it alongside the lemon layer. The lemon will cut right through the blueberries intensity and make them shine brightly and the final layer is speckled with a little lavender.
I mean a little because the light perfume note can quickly turn into a screeching hand soap tasting disaster.


How Will You Eat Your Rainbow That Tastes Like A Rainbow?
When you try this cake you’ll fall into one of two categories:
- You’ll take a bite of each colour to savour each flavour
- You’ll mix and match a few colours on your spoon because you’re so excited by all the colours and flavours in the cake and you don’t know where to start, so you try everthing all at once and in the process you really get the flavour party started in your mouth
- I know I said two categories but there is a 3rd category, my category a mash up of 1 and 2. This is where you taste each layer one at a time starting from the raspberry red and finishing with lavender purple and then going on a rampage and combing different colours on your spoon like a work of art testing out different flavour combinations, but always making sure to stop with the experimenting when there are at least 2-3 proper spoonfuls left of each colour so you can savour each one individually and save your favorite till last so you have that taste left in your mouth.

Did You Know You Can Also Play A Game With Your Rainbow Cake?
I know all of us have been told by our parents at least once to not play with our food but…. you can play with this cake and play with your parents and you wont get in trouble. I promise!
Whilst experimenting with the depth of each flavour my husband would say “I can’t taste it”. This led to me making it over and over which really started to bother me because my girls and I could taste the flavours strongly. After the 5th remake I made up a game to see if my husband could actually taste the flavours without any other outside influences.
How To Play
Someone closes their eyes or blindfold them if they are sneaky and open their eyes to cheat
Feed them a spoon of one of the layers and see if they can guess it right.
ggtip: If they get on your nerves because they keep getting it right be a bit sneaky and mix 2 or 3 layers together to see if you can out smart them.
Every time I make my rainbow cake that tastes like a rainbow we always play this game it’s our family tradition.
How To Decorate Your Rainbow Cake That Tastes Like A Rainbow
I like to decorate my rainbow cake that tastes like a rainbow with my rainbow gelatine bubbles you can see how easy they are to make if you click here.
My rainbow gelatin bubbles make my rainbow cake that tastes like a rainbow have that edge on a standard rainbow cake. They give it the wow! factor and also hint at the fun inside.
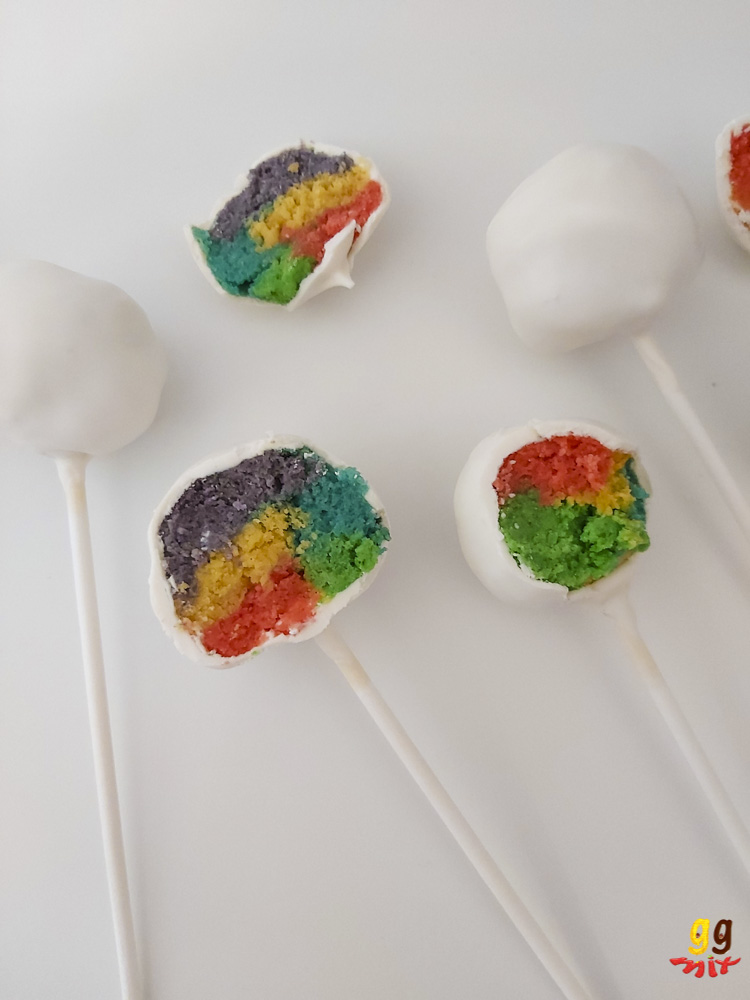
WHAT TO DO WITH YOUR RAINBOW CAKE OFF CUTS
If you don’t know what to do with your cakes off cuts, I have got you covered. Why not make my easy rainbow flavoured rainbow cake pops and truffles. They are super easy and great to make with kids.
“As an Amazon Associate I earn from qualifying purchases from the links below”
Ingredients
CAKE
- 10 grams freeze dried raspberries
- Finely grated zest of 1 orange
- Juice of 1 orange
- finely grated zest of 2 lemons
- juice 1 lemon
- 70 grams pistachios in their shell
- 70 grams frozen blueberries
- 1 tablespoon lavender sugar
- 12 tablespoons whole milk
- Rainbow gel food colour (red, orange, yellow, green, blue and purple)
- 750 grams unsalted butter (softened at room temperature)
- 750 grams caster sugar
- 10 large eggs (at room temperature)
- 750 grams cake self-raising flour, sifted,
- Pinch salt
- Butter and flour to prepare cake tins
BUTTERCREAM
- 450 grams unsalted butter (softened at room temperature)
- 6-7 tablespoons water
- 1 teaspoon vanilla extract or paste
EQUIPMENT
- zester
- Food processor or pestle and mortar
- Blender
- 6 bowls
- Stand mixer with paddle attachment or hand held mixer
- Large litre bowl if usung a handheld mixer
- Spatula
- Medium/large bowl
- Whisk or fork
- Scales
- Large bowl
- 6 spoons
- At least two 6inch loose bottom cake pans
- Skewer/ tooth pick or knife
- Cooling rack
- removable bottom cm inch cake round cake tin or a or cm inch cake board or cm inch cake
- 6 inch cake drum (x2 if using it to ice top)
- Baking paper
- Cake leveler or bread knife
- Pointed end knife
- Cling film
- Foil
- Turntable
- 1/3 measuring cup
- Offset spatula small and large
- Scraper or bench scraper?
Instructions
CAKE
- Grease cake tins with butter and dust the base and sides throughly with flour
- Preheat oven to gas mark 3/ 170°C/ 325°F
- Take your butter and eggs out of the fridge and put them on the worktop to come to room temperature
- In your 1st bowl add your freeze dried raspberries (10g), 2 tablespoons of milk and a pea size amount of the red food gel and stir well to combine. Add more food gel for a more vibrant colour
- In your 2nd bowl add orange zest and juice, 2 tablespoons milk and a pea size amount of orange food gel and stir well to combine
- In 3rd bowl add lemon zest and juice, 2 tablespoons milk and a pea size amount of yellow food gel and stir well to combine
- Shell 70g pistachios then add them to a food processor and grind to a powder or grind in a pestal and mortar. Add your ground pistachios to your 4th bowl along with 2 tablespoons milk and a pea size amount of green food gel and stir well to combine
- Put 70g of frozen blueberries into blender and blitz until pureed. Put your pureed blueberries in your 5th bowl along with 2 tablespoons of milk and a pea size amount of blue food gel and stir well to combine
- In your 6th bowl add 1 table spoon of lavender sugar, 2 tablespoons milk and a pea size amount of purple food gel and stir well to combine
- Beat 750g of unsalted butter and 750g of caster sugar with a paddle attachment on a medium-high speed for 6-7 minutes until light and fluffy. Remember to stop and scrap down the sides of the bowl every minute to make sure all the butter and sugar is fully incorporated
- Crack 10 eggs into a medium-/large bowl and give them a a quick whisk
- Turn your mixer back on to a medium speed and add your eggs in 6-7 stages mixing well between each stage
- Add 750g of self raising flour and a pinch of salt to batter and mix on a low speed until combined, remebmer to scrap down the sides of your bowl a few times to get all the flour fully incorporated
- Put a large clean bowl on to your scales and place all your batter into the bowl
- Divide the amount of batter you have by 6
- Now one at a time place each of your coloured bowls on your scales make sure not to forget to zero your scales each time when you place a new bowl on your scales
- Place your divided amount of batter in each bowl
- Mix each bowl of batter just until you see the batter is coloured evenly
- Place your batter into your prepared tins and bake for 20 minutes. If you don't have 6 cake tins you're going to have to wait until the ones in the ovens have cooked and cooled before continuing cooking the other colours
- Cakes are ready when you insert a skewer, tooth pick or knife into the centre of the cake and it comes out clean
- Leave cakes to cool in their tins for around 15 minutes then place on a cooling rack to cool completely
PREPARING CAKES
- Once cooled put each of your cakes on a piece of baking paper to make moving the cakes around easier
- Level off the tops of each of your cakes with a cake leveler or bread knife
- Place your cake drum in the center on top of one of your leveled cake and cut around the drum with your pointed knife. Be very careful when doing this because you can scrape off the silver coating of you cake drum which will ruin the appearance of your final presentation. If you have a loose bottom cake tin the same size as your cake drum cm inches then use that instead to protect your cake drum or have 2 cake drums just incase. Do this for all your cakes
- You can skip the next steps and fill and stack your cake all on one day but if you want to work ahead of time wrap each layer with 2 lots of cling film tightly and then 1 layer of foil and place in the freezer for up to a week. If stacking on the same day freeze for at least 3 hours
BUTTERCREAM
- Add 450gbutter to mixer and beat with your paddle attachment or hand held mixer on a high speed for 5 minutes until pale and fluffy
- Add 1kg icing sugar in 2 batches and beat for 3 minutes between each one
- Turn mixer on to a low speed add 1 tsp vanilla and 6-7 tbsp. water then turn the speed up to a high speed and beat for 2 minutes until light and fluffy
- Cover with cling film until your ready to use it
STACKING YOUR LAYERS
- Set out all your equipment, turntable, cakedrum, spatula, palette knifes, scraper/benchscraper and then get all your layers out of the freezer keeping the foil and clingfilm on
- Place your cake board/drum in the center of your turntable and place a tablespoon of buttercream on the center of your board so your first layer sticks to the board and doesn't slip or move
- Unwrap your purple layer and place it onto your cake board push down slightly on the cake to make sure the buttercream is holding the cake and board securly
- Measure out 1/3 cup of butter cream and spread it evenly over your purple layer
- Unwrap your blue layer and place it on top of the butter cream, making sure to apply a little pressure to secure your cake to the buttercream
- Measure out 1/3 cup of buttercream and sprerad it evenly over your blue layer
- Unwrapped your green layer and place it on top of the buttercream add 1/3 cup butter of buttter evenly across your cake and reapeat with your yellow cake 1/3 buttercream, orange cake 1/3 buttercream and finaly add your red layer but don't add any buttercream on top of it just yet
- With your offset spatula crumb coat the entire cake, sides and top with a thin layer of buttercream (there's a step by step video on )
- Place your cake in the fridge for 1 hour to harden
- Using your offset spatula cover the the side of your cake with most of the buttercream (save 1/3 for the top). Run the flat, straight edge of your spatula or bench scraper around the edges of the cake to smooth out the buttercream
- Add the last of your buttercream to the top of the cake and with your offset spatula or bench scraper smooth the buttercream from the outside in for a smooth finish
- Decorate with some rainbow gelatine bubbles
VIDEO
ggmix TIPS
- To get the perfect slice of cake fill a tall glass/cup with hot water and place the knife in the water for a few minutes, wipe it dry with a clean towel and cut your cake. Repeat this process between each slice to avoid loosing the definition of the layers
- Also have some fun and play with your food. Close your eyes and guess the flavour (",)
Nutrition
Kali orexi! Hope you enjoy!

Hi
Just wondering how many grams of freeze dried raspberries there are in a tube? Also could I substitute this for fresh?
Thanks
Cake looks amazing btw 😃👌
Hi, thank you so much (“,) The tubes I use are 10g of freeze dried raspberries. I’m sure you could use fresh as I do so with the blue blueberry layer. I use frozen blueberries and the cake is really moist. Maybe try 70g of either fresh or frozen raspberries. I’d love to know how it turns out and what you thought.
Hi, Lizzie,
I cannot find 25/26cm sponge tins to make a rainbow cake. I need this size as I am placing a smaller one on top, as my granddaughter wants a rainbow castle cake with princess on it.
So I was wondering, would it work, if I had a deep 25/26cm cake tin.
If I for example placed say purple sponge mixture into the tin, then cut a circle of non stick baking parchment on top of this. Then say a yellow sponge mixture on top, then placing another circle of non stick baking parchment on top of this & continue stacking the colored mixtures up.
And then bake it.
After 10 minutes to let it cool.
Remove each layer onto a cooling rack, removing the non stick baking parchment while you go.
I have no idea if this would work, so I wonder if you have ever tried this method, as larger sponge tins are not available or if you thought it could work.
Any advice that you could give me would be extremely appreciated.
Kind regards,
Jackie x
Hi Jackie, I don’t know if I am reading this correctly, are you trying to bake all the layers at the same time in one tin?
If so I don’t think this will work because you will be cooking all the cake batter at once and it will need longer to cook and because there is so much the edges will start burning and the middle will be raw.
You can still cook your batter in a deeper and bigger tin than I have, you need to just cook each layer one at a time and because your tin is larger your batter will be spread out more thinly in your pan so will cook quicker. I suggest checking your cakes after 10 minutes and every few minutes after keep checking rather than 20 minutes like I have so they don’t burn.
If you have any more questions I am happy to help and I would love to see how your rainbow castle turns out and what you thought of the flavours, you can tag me in any pictures on Instagram. Good Luck and take care 😊
Hi
Thank you for such a wonderful recipe. Can’t wait to try this out.
My question is if only one layer can be baked at a time, will the remaining batter left to sit have any bad effect when it’s baked untill all layers are done?
Hi, you are very welcome 😊
I normally cook 2 layers at a time because I only have 2 baking pans and the rest sits out until the 2 have been baked, cooled a little and taken out of the pan and then washed and dried and I repeat this one more time and all the layers turn out great, so you should be ok. Good luck, let me know how you get on.
Not sure how to make lavender sugar (I want to get the floral balance right). I have both fresh lavender and 2week old dried lavender from my garden atm. How do I prepare lavender sugar?
Hi Christina, to make your own lavender sugar blend 1 cup of sugar with 1 tbsp of dried lavender then add another 1 cup of sugar blend again and then store it in an airtight jar or container for at least a few days but the longer the better so the lavender flavour can infuse the sugar. I say to blend the lavender with the sugar so you wont have lavender pieces in your cake, but if you don’t mind them and would like big lavender pieces for other things you are going to make ten skip the blending part and add 1 tbsp of dried lavender to 2 cups of sugar and stir it in well so the lavender is combined throughout the sugar. I hope this helps and if you have any more questions I am happy to help 😊
Thanks a lot for the recipe!
To get more pistachio flavor, I used a bit of almond extract as well (which I’ve seen mentioned in other “pistachio cake” recipes). I also needed to increase the blueberry by 50% to get more flavor.
You are very welcome! 😊 Thanks for the almond tip, I will try it next time 😉 I do find it depends on the blueberries you buy, some are sweeter than others and even the same brands differ with sweetness and blueberry flavour. How did you find the flavour of the cake?😀